Today we are going to cover Excel Automation Add-In which allows you to set your own User Defined Functions.
Now, before we jump in, I had a desire to write functions using C#. And I wanted them to be deployable, so not just linked to an excel macro worksheet.
With those two requirements, there are a few ways to write Excel Add-Ins which allow User Defined Functions (UDF’s). There are COM add-ins, Automation Add-ins, and XLL Add-ins.
For the sake of not using a library to build the XLL Add-In, I was sitting between using a COM Add-In or an Automation Add-In. When researching, I discovered Automation Add-Ins are simpler to set up initially, and also are extensible to the full feature functionality of a COM Add-In. Thus I settled on building an Automation Add-In.
Now, to dig into how to get the ball rolling.
Getting Set Up
Firstly, you’ll want to open Visual Studio 2017 as an administrator. This is for the sake of registering the add-in to the Windows registry. This will give the compiler permissions you need. If you do not run this as an administrator, you will see an error.

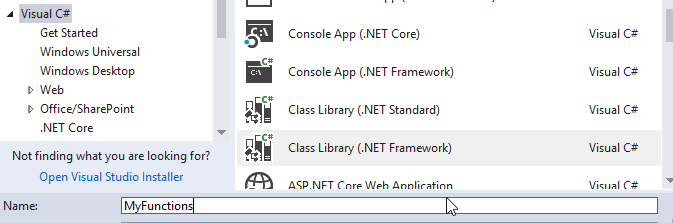
Once you’ve got your solution set up, you will want to be sure that the debug builds to the version of Microsoft Office You’ve got installed.
I am running 64 bit, so this is my configuration.

We are finally ready to get started with some code.
Writing Code
Firstly, you will want to add to the top of your class some attributes. You’ll want to add a generated GUID, and some other configurations to tell the class to be a COM Automation add-in

I’ll start with a public class called MyFunctions and add the default COM register and unregister functions to the codebase. These bits are run on build and deploy and register this add-in to the Windows registry, thus allowing Excel to see it.
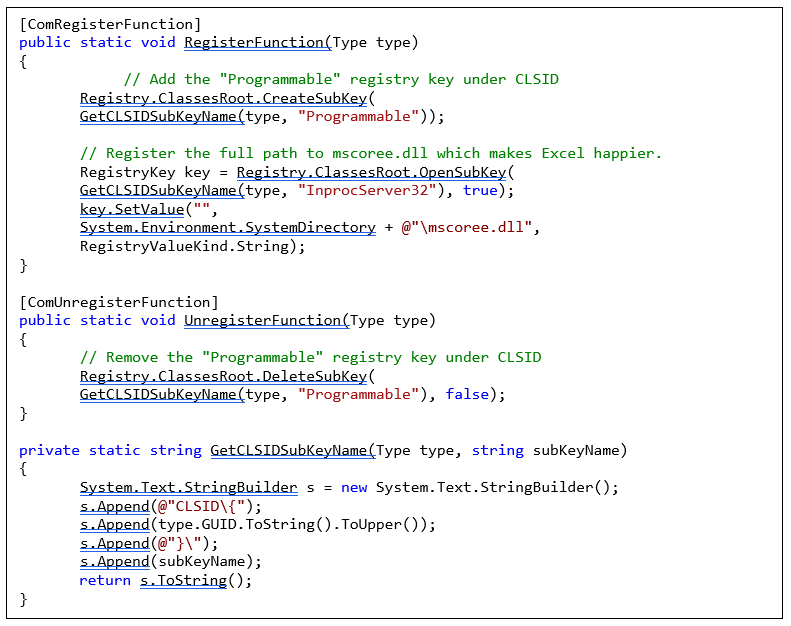
Once you’ve got this you are free to write your own functions, and any function you write will show up as an Excel UDF.
My example function:

Building and Using
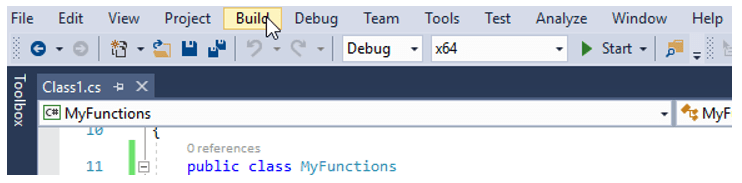
Now it’s time to build the project. From the menu bar select Build.
Once the build has succeeded you are ready to open Excel.
With Excel Open, before selecting a document or template choose Options > Add-ins. At the bottom, you’ll see an option to manage add-ins. You’ll want to make sure “Excel Add-ins” and click Go.
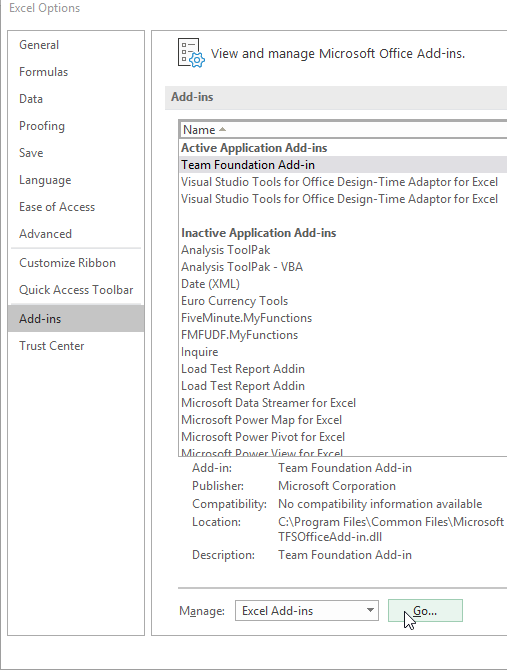
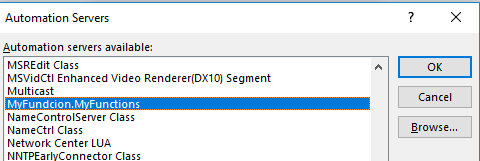
Within the popup, you’ll want to select Automation and scroll through your automation add-ins.
Once your Automation Add-in is set up in Excel, you are able to use it by typing =GetGreeting() and you’ll see that the result is “Hey Folks!”.
For more information about gaining a competitive advantage with digital transformation, contact Red Level today.
Related Posts
Mergers and acquisitions (M&A) are exciting, on paper. In reality? ...
Windows 10 End of Support is Coming Microsoft is officially ...
As we step into 2024, the landscape of IT is ...


Did You Know?
Red Level has been chosen to receive the Michigan Works! Impact Award. The company was nominated for the honor by the Oakland County Michigan Works! Chapter in recognition of its success in forming strategic partnerships to upskill and expand the local workforce to meet industry needs better.